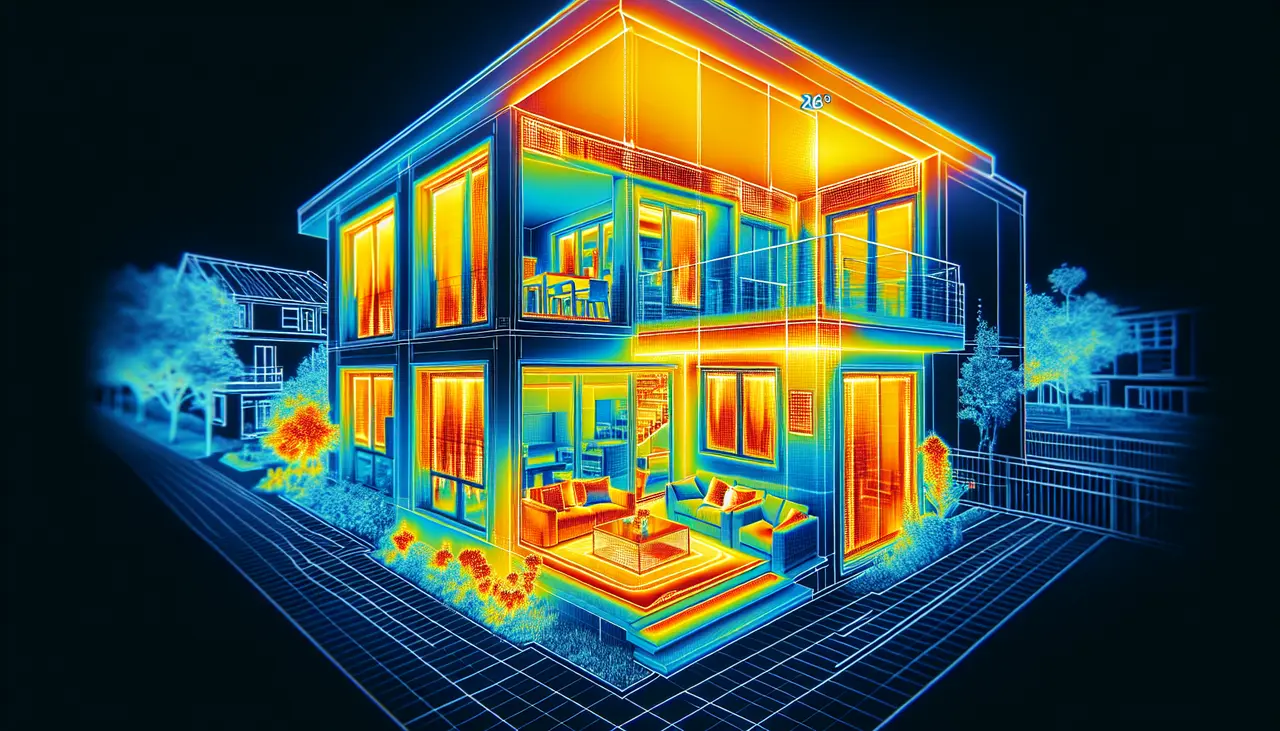
Discovering the unseen thief of comfort and efficiency in your home could be the key to enhancing your living space. Air leakage not only compromises the energy efficiency of your home but also affects its overall comfort level. Learn how to identify, address, and ultimately prevent air leakage to save on energy bills and increase your home’s comfort.
Identifying Common Signs of Air Leakage in Homes
One of the earliest signs of air leakage includes unexpected fluctuation in heating and cooling bills, which often puzzles homeowners. Drafts near windows, doors, and other openings are telltale signs that air is escaping, making some rooms feel chilly or overly warm. Another hint could be the presence of condensation on windows, indicating moisture infiltration due to air leaks. Recognizing these signs early can save homeowners a significant amount of discomfort and energy waste.
In addition to the obvious signs, some less noticeable indicators might include a consistent presence of dust, pointing towards air leaks pulling in particles from outside or unconditioned spaces. Similarly, problems with pests can sometimes be attributed to small openings that not only let air in and out but also create passageways for insects and rodents. Paying attention to these subtler signs can lead to early detection and remediation of air leakage issues.
The Tools You Need to Detect Air Leakage
Detecting air leakage often begins with tools like a blower door test, thermal imaging, smoke pencils or incense sticks, which can visually show air movement when passed around doors, windows, and other suspected leak sites. Thermal cameras and infrared thermometers offer a more high-tech approach, pinpointing temperature differences in walls and ceilings that suggest air leaks. However, for a thorough examination, homeowners might consider hiring professionals who can conduct a blower door test, effectively pressurizing the home to reveal all sources of air leaks.
Step-by-Step Guide to Finding Air Leaks
The process of finding air leaks starts with a careful examination of your home, focusing on areas where different materials meet, such as windows, doors, and siding junctions. Sealant or caulking cracks can often be a first indicator. Moving inside, check around electrical outlets, switch plates, and baseboards, as these are common points for air infiltration. Use the aforementioned tools like a smoke pencil to confirm suspicions of air movement in these areas.
After identifying potential leaks indoors, it’s important to inspect the attic and basement & crawlspace, if accessible. These areas are prone to leaks around venting pipes, chimneys, foundation walls, and any unfinished spaces. The attic, in particular, can reveal leaks through stained insulation—a sign that air (carrying dust and moisture) is bypassing the living spaces below. Addressing these leaks can significantly improve the overall energy efficiency of your home.
Sealing the Leaks: Best Practices and Tips
Once identified, sealing leaks effectively requires choosing the right materials for the job. For small gaps around windows and doors, caulk is often sufficient, while larger gaps might necessitate expandable foam insulation. It’s also crucial to consider the use of weatherstripping for movable components, such as doors and operable windows. Ensuring proper ventilation, especially in areas like the attic and basement, remains vital to prevent moisture buildup and maintain indoor air quality after sealing leaks.
Addressing leaks in ductwork presents a unique challenge, requiring mastic sealant or metal tape specifically designed for HVAC systems. It’s important to avoid common duct tape, as it often fails under the extreme temperatures found in ductwork. Professional assistance might be needed for hard-to-reach or extensive leaks in the duct system, ensuring proper sealing and efficiency.
Professional Assistance vs. DIY: When to Call in Experts
While many air leaks can be addressed through DIY methods, some situations call for professional expertise. Complex cases involving structural issues or extensive ductwork leaks often require the skills and tools only professionals have. Additionally, homes undergoing major renovations could benefit from a professional energy audit, including a blower door test, to comprehensively identify and address air leakage. Knowing when to seek help can save both time and money in the long run.
Maintaining an Airtight Home: Prevention Strategies
Preventing air leakage starts with regular maintenance and inspection of your home’s exterior and interior. Reapplying caulk or weatherstripping as needed, periodically checking for new gaps or cracks, and maintaining your HVAC system are all proactive steps homeowners can take. Additionally, considering upgrades like energy-efficient windows or added insulation can contribute to a more airtight home, ensuring that once sealed, leaks do not easily reoccur.
Embracing new construction techniques and materials designed for energy efficiency can also play a pivotal role in preventing air leaks in newly built homes. Advanced framing techniques, tightly sealed ductwork, and continuous insulation are among the strategies that contribute to a comfortable, highly efficient home environment. Regularly updating your knowledge on home energy efficiency can help maintain your home’s integrity against air leakage over time.
Embracing the Quest for an Airtight Home
Addressing air leakage in your home is not just about reducing energy consumption and saving on your utility bills; it’s about reclaiming your home’s comfort and health. By identifying and sealing leaks, you are taking a significant step towards creating a more efficient, comfortable, and sustainable living environment. Remember, maintaining an airtight home goes beyond a one-time fix—it’s an ongoing commitment to energy efficiency and indoor air quality that benefits everyone inside.


